STEP 1: Adding files
Place one or more files* into the Uploader by clicking the Select files button or by dragging them from your computer, dropping them directly in to the Drag and drop area.
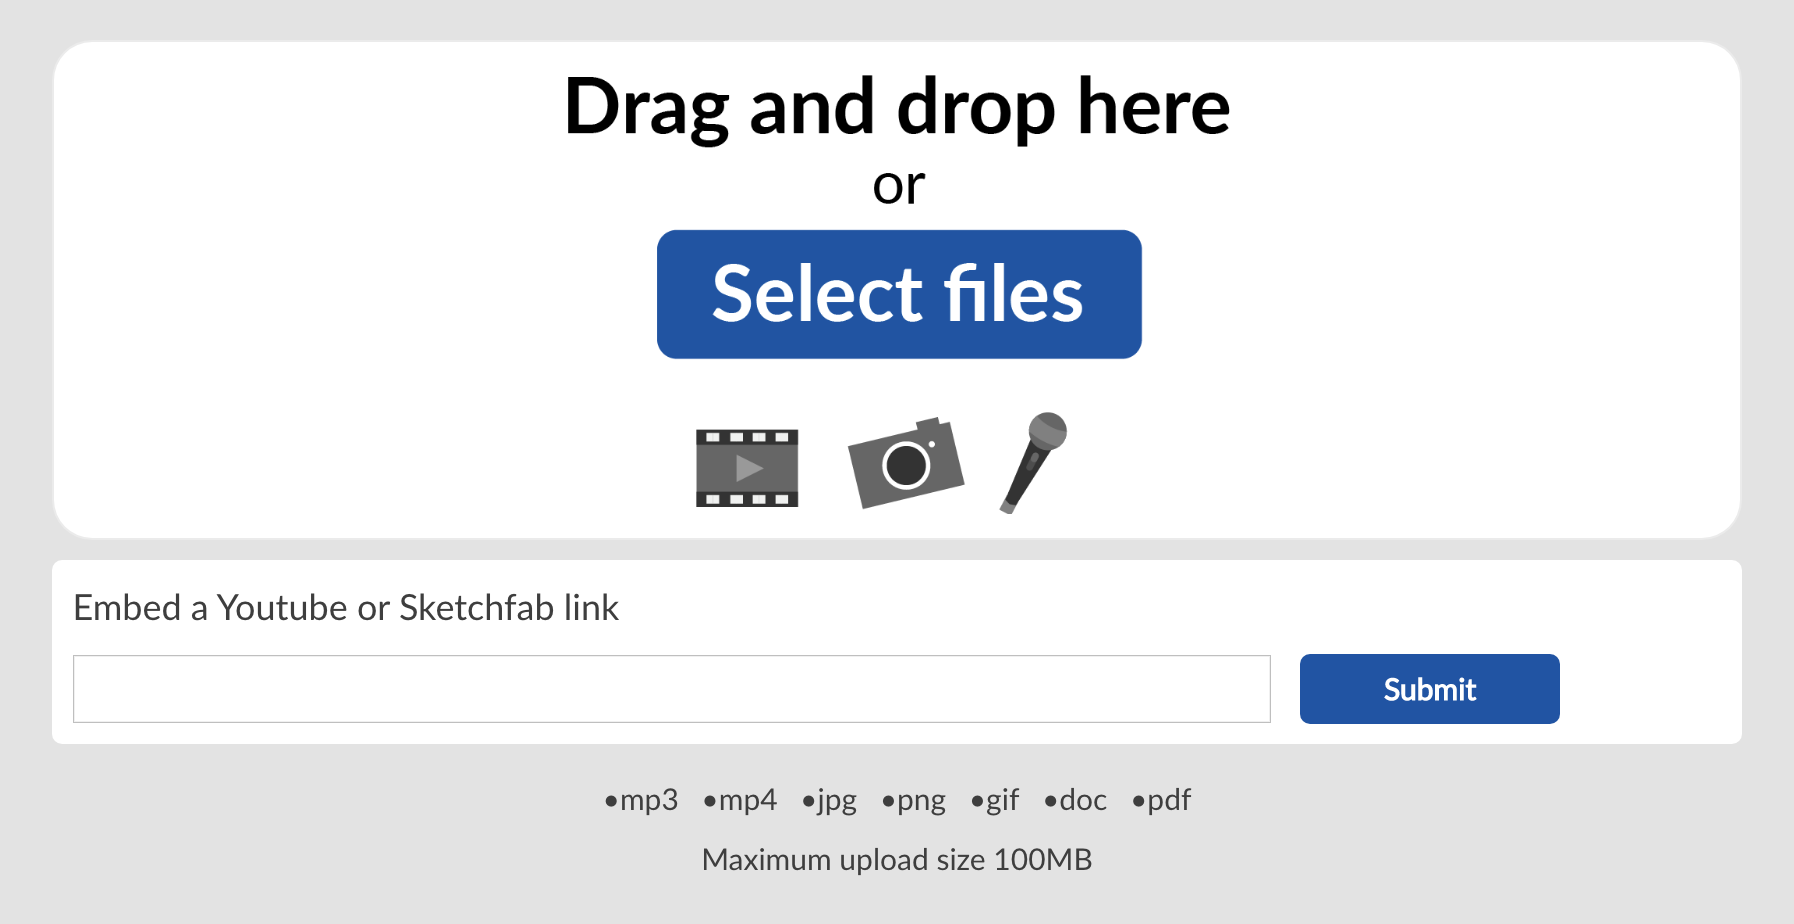
figure 6 – shows the Select files button and white Drag and drop area
* Files are pictures, documents, audio or videos, which are then published as pages on the website.
STEP 2: Create New Page
Figure 7 shows two files uploaded successfully, now you are asked to choose your next step – create three separate pages from these files or have them together on one page (a multi-page* item).
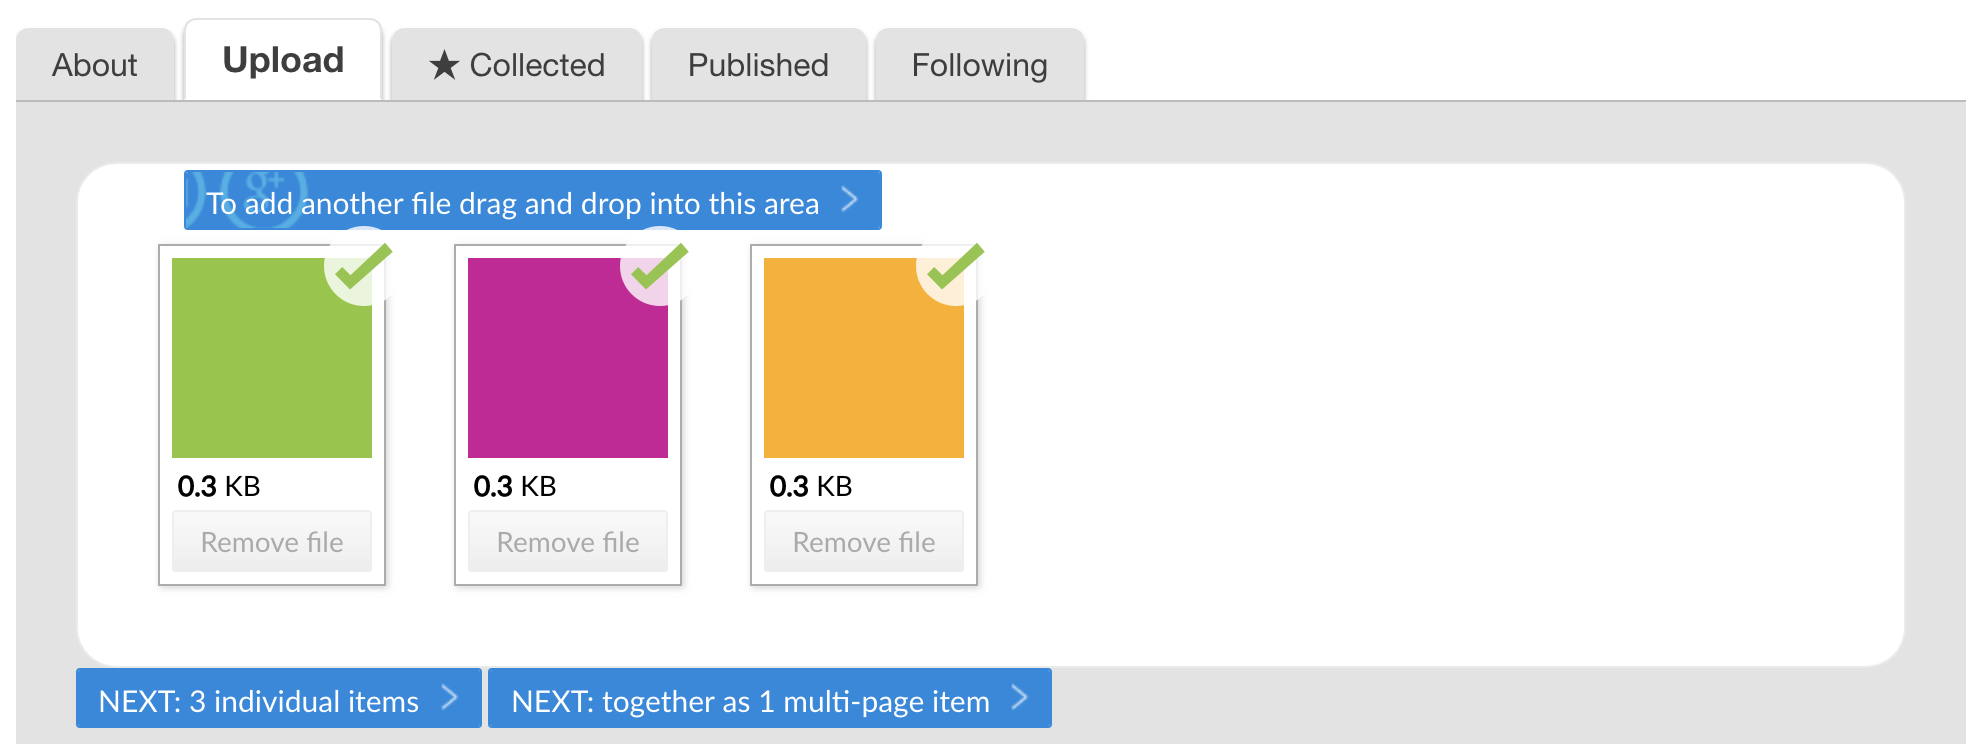
figure 7 – three png’s added to the uploader
* Multi-pages are best suited to keeping related items together, such as: the front and back of a postcard; separately scanned images taken from a scrapbook or document; or multiple images taken at the same time and place of the same subject, that have the same description.
If you add files one at a time, you will go straight into edit-mode. However, if you add several files at once, as in figure 7, the files are saved in draft form first. You will find them saved under the Uploader, ready for you to Edit to add information, such as title and description, etc, see the next How To guide for help doing this.
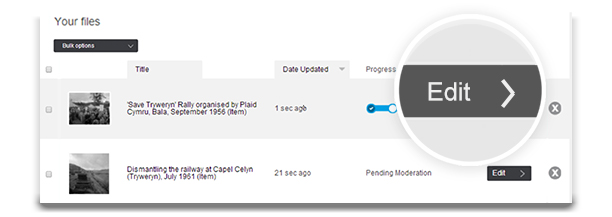
figure 7b – draft files (uploaded but not yet published)